


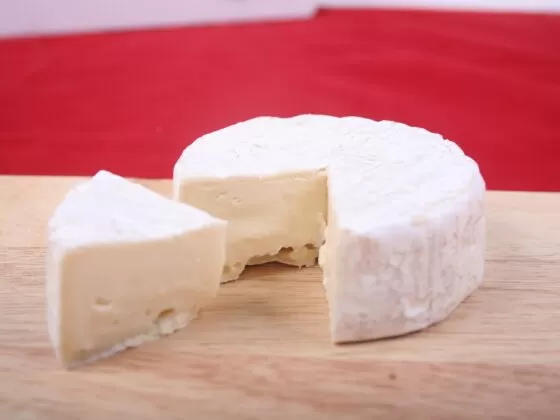
Many cheese lovers consider it unsophisticated to eat around the rind of brie as it contributes to the full flavor profile of the cheese. In fact, the rind helps to break down fats and proteins in the cheese itself, giving it its soft, creamy texture. The exterior rind also plays an important role serving as a layer of protection from microorganisms that may contaminate the brie as it ripens.
For those that find it less appealing and would prefer to remove it before eating we’ve tested two methods below. Refer to the below step by step instructions that detail with photos how to remove the rind from brie.
To Remove the Whole Rind
Step 1: Wrap the whole wheel or triangle of brie tightly in plastic food wrap.
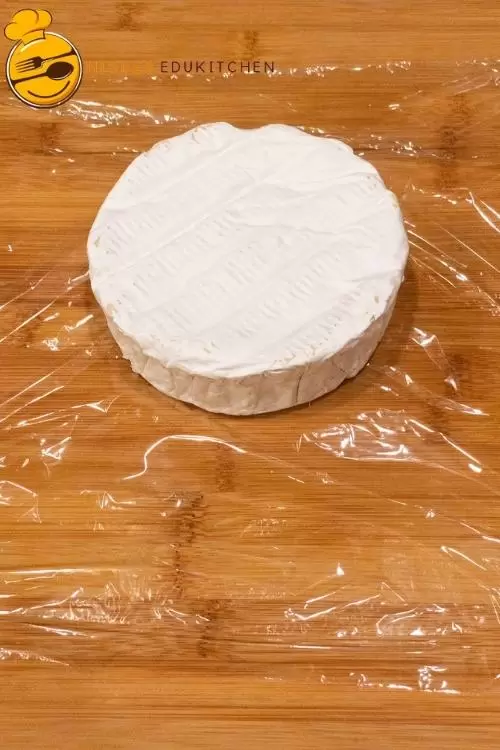
Try and make sure to remove any air bubbles and create a good seal. Depending on the width of your wrap you’ll likely need to use several pieces. The wrap we used was 11 7/8 inches (30.16cm) wide. We ended up using two large pieces for full coverage. Ensuring that the brie is fully covered with plastic wrap will protect it from freezer burn, help it maintain its texture and flavor. Since we’re not freezing it for long-term storage it doesn’t need to be placed in an airtight container.
Step 2: Freeze the brie for at least 45 minutes.
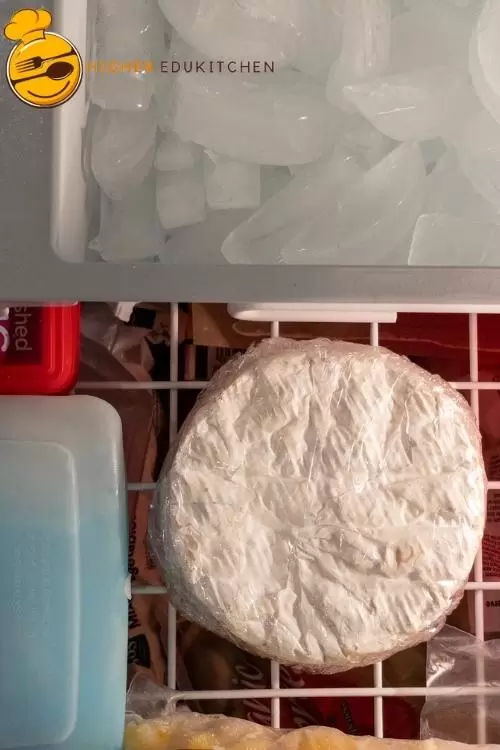
Freezing the brie will cause it to harden and prevent the rind from sticking to the cheese. We’ve found that 45 minutes is the shortest amount of time needed to let the brie begin to firm. Anything less and you’ll find that the cheese will pull off as you attempt to remove the rind. Of course, you can freeze the brie for several hours and overnight if needed for the morning. We wouldn’t recommend any longer than that though to ensure no change in flavor and texture. Note* The brie should be firm but not completely frozen. If its too frozen it will be difficult to pass the knife through the cheese.
Step 3: Remove the brie from the freezer and unwrap it.
To be able to remove the rind smoothly its important that the brie is firm. Press in gently on the center of the brie. If it still feels soft, return it to the freezer for 30 more minutes. If its firm, place the brie directly onto a cutting board.
Step 4: Use a sharp wide-bladed knife to slice off the top and bottom rind.
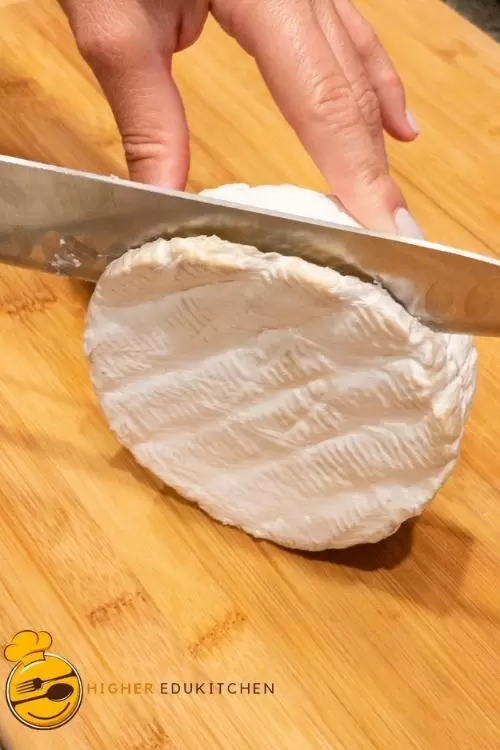
With the brie on its side, use a sharp wide-bladed knife to slice off the top and bottom of ends of the brie. This method will work for circular or triangular wedges of brie. If the brie is firm enough the knife should cut right through. If you’re having trouble slicing through the brie or can’t peel the rind, re-wrap the cheese in plastic food wrap and freeze again for another 30 minutes. Repeat this step until the top and bottom of the rind can be easily removed. Note* Take extreme care when slicing the top and bottom of the rind off of the brie. Because the brie is narrow, make sure to hold the cheese firmly and press down slowly but firmly with the knife ensuring that it doesn’t slip. If you feel more comfortable, use a guide to rest the cheese on while you’re slicing off the rind.
Step 5: Carve off the sides of the rind.
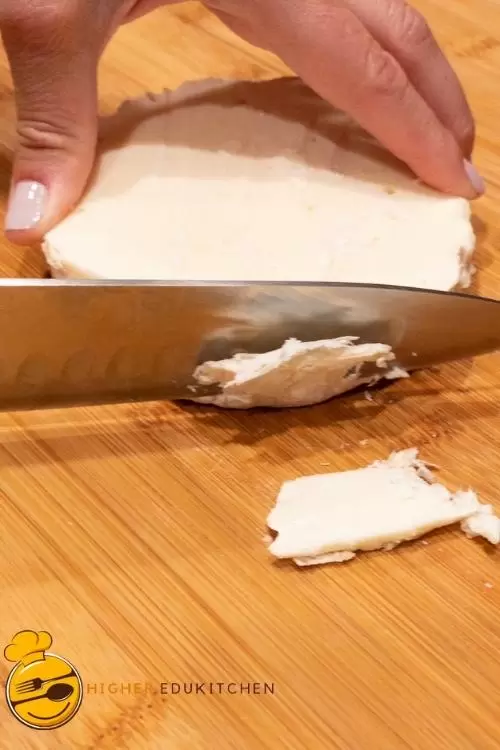
Place the brie flat on the cutting board. Begin by using the serrated knife to carve a slice of the side of the rind. Once you’ve removed a piece, continue to carve around the sides pulling the rind away from the cheese as you go. Continue this until you’ve managed to remove all the rind from the brie.
If you notice that the cheese is beginning to stick to the cutting board. Place a sheet of parchment or waxed paper underneath it before continuing.
If the cheese has softened and is sticking to the rind, wrap it once again and refreeze it for another 30 minutes to firm it up.
Step 6: Place the cheese in the refrigerator to thaw slowly and discard the rind.
Since brie is a soft cheese to begin with. Slowly thawing the brie will result in optimal taste and texture.
Step 7: Remove from the refrigerator.
Let the brie come to room temperature for about one hour.
Step 8: Serve the brie.
Pair with acidic fruits such as grapes, berries, apples and pears to bring out its smooth texture. You can also add earthy unsalted nuts such as almonds, and walnuts. If its something sweet you desire, fig jam and honey complement it well.
To Make a Brie Bowl
Step 1: Wrap the whole wheel or triangle of brie tightly in plastic food wrap.
Try and make sure to remove any air bubbles and create a good seal. Depending on the width of your wrap you’ll likely need to use several pieces. The wrap we used was 11 7/8 inches (30.16cm) wide. We ended up using two large pieces for full coverage. Ensuring that the brie is fully covered with plastic wrap will protect it from freezer burn, help it maintain its texture and flavor. Since we’re not freezing it for long-term storage it doesn’t need to be placed in an airtight container.
Step 2: Freeze the brie for at least 45 minutes.
Freezing the brie will cause it to harden and prevent the rind from sticking to the cheese. We’ve found that 45 minutes is the shortest amount of time needed to let the brie begin to firm. Anything less and you’ll find that the cheese will pull off as you attempt to remove the rind. Of course, you can freeze the brie for several hours and overnight if needed for the morning. We wouldn’t recommend any longer than that though to ensure no change in flavor and texture. Note* The brie should be firm but not completely frozen. If its too frozen it will be difficult to pass the knife through the cheese.
Step 3: Remove the brie from the freezer and unwrap it.
To be able to remove the rind smoothly its important that the brie is firm. Press in gently on the center of the brie. If it still feels soft, return it to the freezer for 30 more minutes. If its firm, place the brie directly onto a cutting board.
Step 4: Use a sharp wide-bladed knife to slice off the top rind.
With the brie on its side, use a sharp wide-bladed knife to slice off the top rind of the brie. This method will work for circular or triangular wedges of brie. If the brie is firm enough the knife should cut right through. If you’re having trouble slicing through the brie or can’t peel the rind, re-wrap the cheese in plastic food wrap and freeze again for another 30 minutes. Repeat this step until the top of the rind can be easily removed. Note* Take extreme care when slicing the top and bottom of the rind off of the brie. Because the brie is narrow, make sure to hold the cheese firmly and press down slowly but firmly with the knife ensuring that it doesn’t slip. If you feel more comfortable, use a guide to rest the cheese on while you’re slicing off the rind.
Removing only the top rind creates a bowl so that the creamy baked brie can be easily scooped with your favorite veggies or crackers or removed for serving.
When removing the rind, slice as close as you can to the top to ensure you’re not removing the cheese but only the rind.
Step 5: Bake the brie.

Place the brie in a baking dish lined with waxed paper or parchment paper. Bake the brie bowl for 15-20 minutes at 300 degrees. You’ll know it’s done when it starts to look like it will ooze and feels soft to the touch. You can also use this method to make a baked brie bread bowl which can be paired with veggies and served as an appetizer.
Step 6: Layer with Jam or Preserves.

Try jams from fruit that are naturally less sweet such as figs, apricot and quince. For a savory or spicy twist, try a pepper jam or hot honey.
Step 7: Serve with crackers and/or fresh fruit.
Sesame, whole wheat or water crackers make a great pairing with brie cheese. Brie pairs best acidic fruits such as grapes, berries, apples and pears to bring out its smooth texture.


1 comment